Let’s buy a skoolie. Let’s convert it into an RV. Let’s travel the country.
So you bought a school bus. First things first, you must start on your demo inside the bus. The key to the demo going smoothly is not to get ahead of yourself. You immediately want to go in, rip everything out of the bus with all the ideas and excitement flowing through the air. However, it is easy to get overwhelmed.
We recommend that you break your demo into subgroups. Start with the bus seats.
The Tools You Need
I constantly hear mixed reviews about whether the seats are extremely hard or relatively easy to remove. Personally, I enjoyed removing the seats. Yes, it is a struggle at times, but you start to visualize the open space of your bus. I can only speak from our experience with our 40 foot Thomas because each bus is built differently.
There are a few items you will need when removing the seats:
- A good impact drill
- Good-quality lug nuts or ratchet set
- #2 and #3 square head bits
- Allen wrench set
- A grinding tool – Either an angle grinder or sawzall with a metal cutting blade attached. (PRO TIP: go ahead and splurge on good-quality blades to save yourself headaches during the process of removal. The cheaper blades work ok but you waste time changing them out every third seat.)
Ways To Remove The Seats
The process of removing the seats can be much easier when you have a partner to do the dirty work.
In the middle track of the bus, there are large bolts with a nut under the bus. The easiest way to remove these is to have one person with an impact drill inside the bus and one person under the bus with an Allen wrench to hold tight on the bolt <<< the dirty work. When doing this alone, this technique will NOT work, so don’t waste your time.

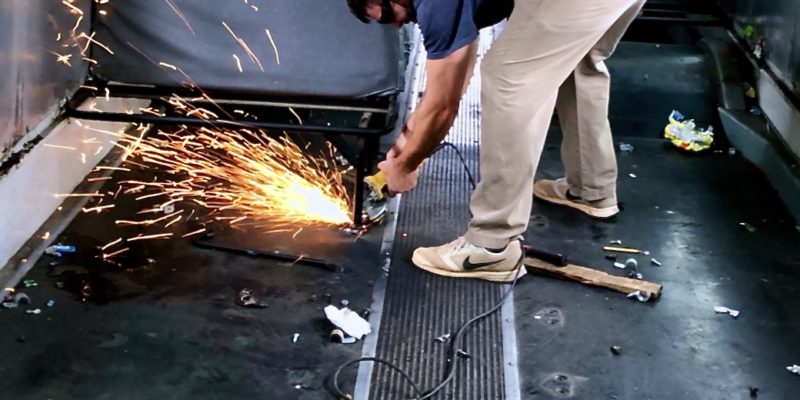
I took two different approaches when I was by myself. I either used an angle grinder to cut the bolts clean off or went into beast mode and started ripping the seats out with manpower. Either way you choose has its pros and cons.
| ANGLE GRINDER PROS | ANGLE GRINDER CONS | MANPOWER PROS | MANPOWER CONS |
| ~- You can cut the bolt clean off with no problems — Much quicker | — Sometimes you do not cut the bolt clean off and still have to use manpower — Accidentally cutting through the floor | — You get to test your manpower — No gym that week | — Your body feels like you ran into a brick wall — You bend some of the metal flooring |
Once you tackle the center bolts, the seats are still attached to the wall.
There is a chair rail running along the wall in our bus, and the seat is attached to this using a Phillips-head screw. (PRO TIP: The nice thing about these screws, a square head bit fits nicely inside the cavity of the screw itself. Meaning that using a square head versus a Phillips-head is less likely to strip out.)
When removing the screws out of the chair rail, it’s important to stay focused on the screws in the chair rail. As I stated earlier, it is very easy to get distracted by the other millions of screws that need to come out. Don’t overwhelm yourself!
Remember, there are years of dirt and nastiness inside these screws, so it might take a little extra force to take these out. I’ve seen some people use a hammer and tap each screw before using the drill to take them out. Although this is an ok technique, keep in mind that you’re at risk of the product bending when you use a metal object to hit a stainless steel product. If it bends, you will not be able to put a drill bit in, and you will have to cut it out anyway.
I used a technique similar, but instead of hitting the screw directly, I placed my drill bit inside the screw and gently tapped the back of the drill itself with a light hammer. It seemed to work well with placing my bit solidly inside the screw, but also helped remove any rust which might be holding the screw tight.
Dealing With Rusted Screws
Unfortunately, as with any older bus, you will have to deal with some rusted screws. The ones that keep stripping no matter what you do.
You can try one last trick before cutting the rusted screw out of there.
- Reverse the drill
- Slightly go forward first in tightening mode (keyword *SLIGHTLY*)
- Quickly kick the drill in loosen mode to take it out
This technique helps screws that have caked on rust. There is a chance that it will not work, so you can skip this step if you’re not successful after the first few tries.
If all else fails, cut the screws out with your grinding tool.
When using the angle grinder, you have two choices: attempt to cut the entire screw off OR cut a straight line in the screw and then use a flat head attachment on your drill to unscrew it. I found this technique on YouTube University. It works well, and I have adapted this technique more and more later in my project.
Please, please, please use proper gloves, eyewear, and a facemask (I know you have extra after COVID) when using this tool. Some of these screws and bolts are coated with zinc (galvanized), and it’s very toxic to breathe in, including years of rust and dust flying through the air.
Lastly, always unplug your grinder when not in use. The last thing you want is to pick it up and it accidentally turns on or you have a little one like me who is curious about everything. Stay safe, people, stay safe.
Disposing of your seats
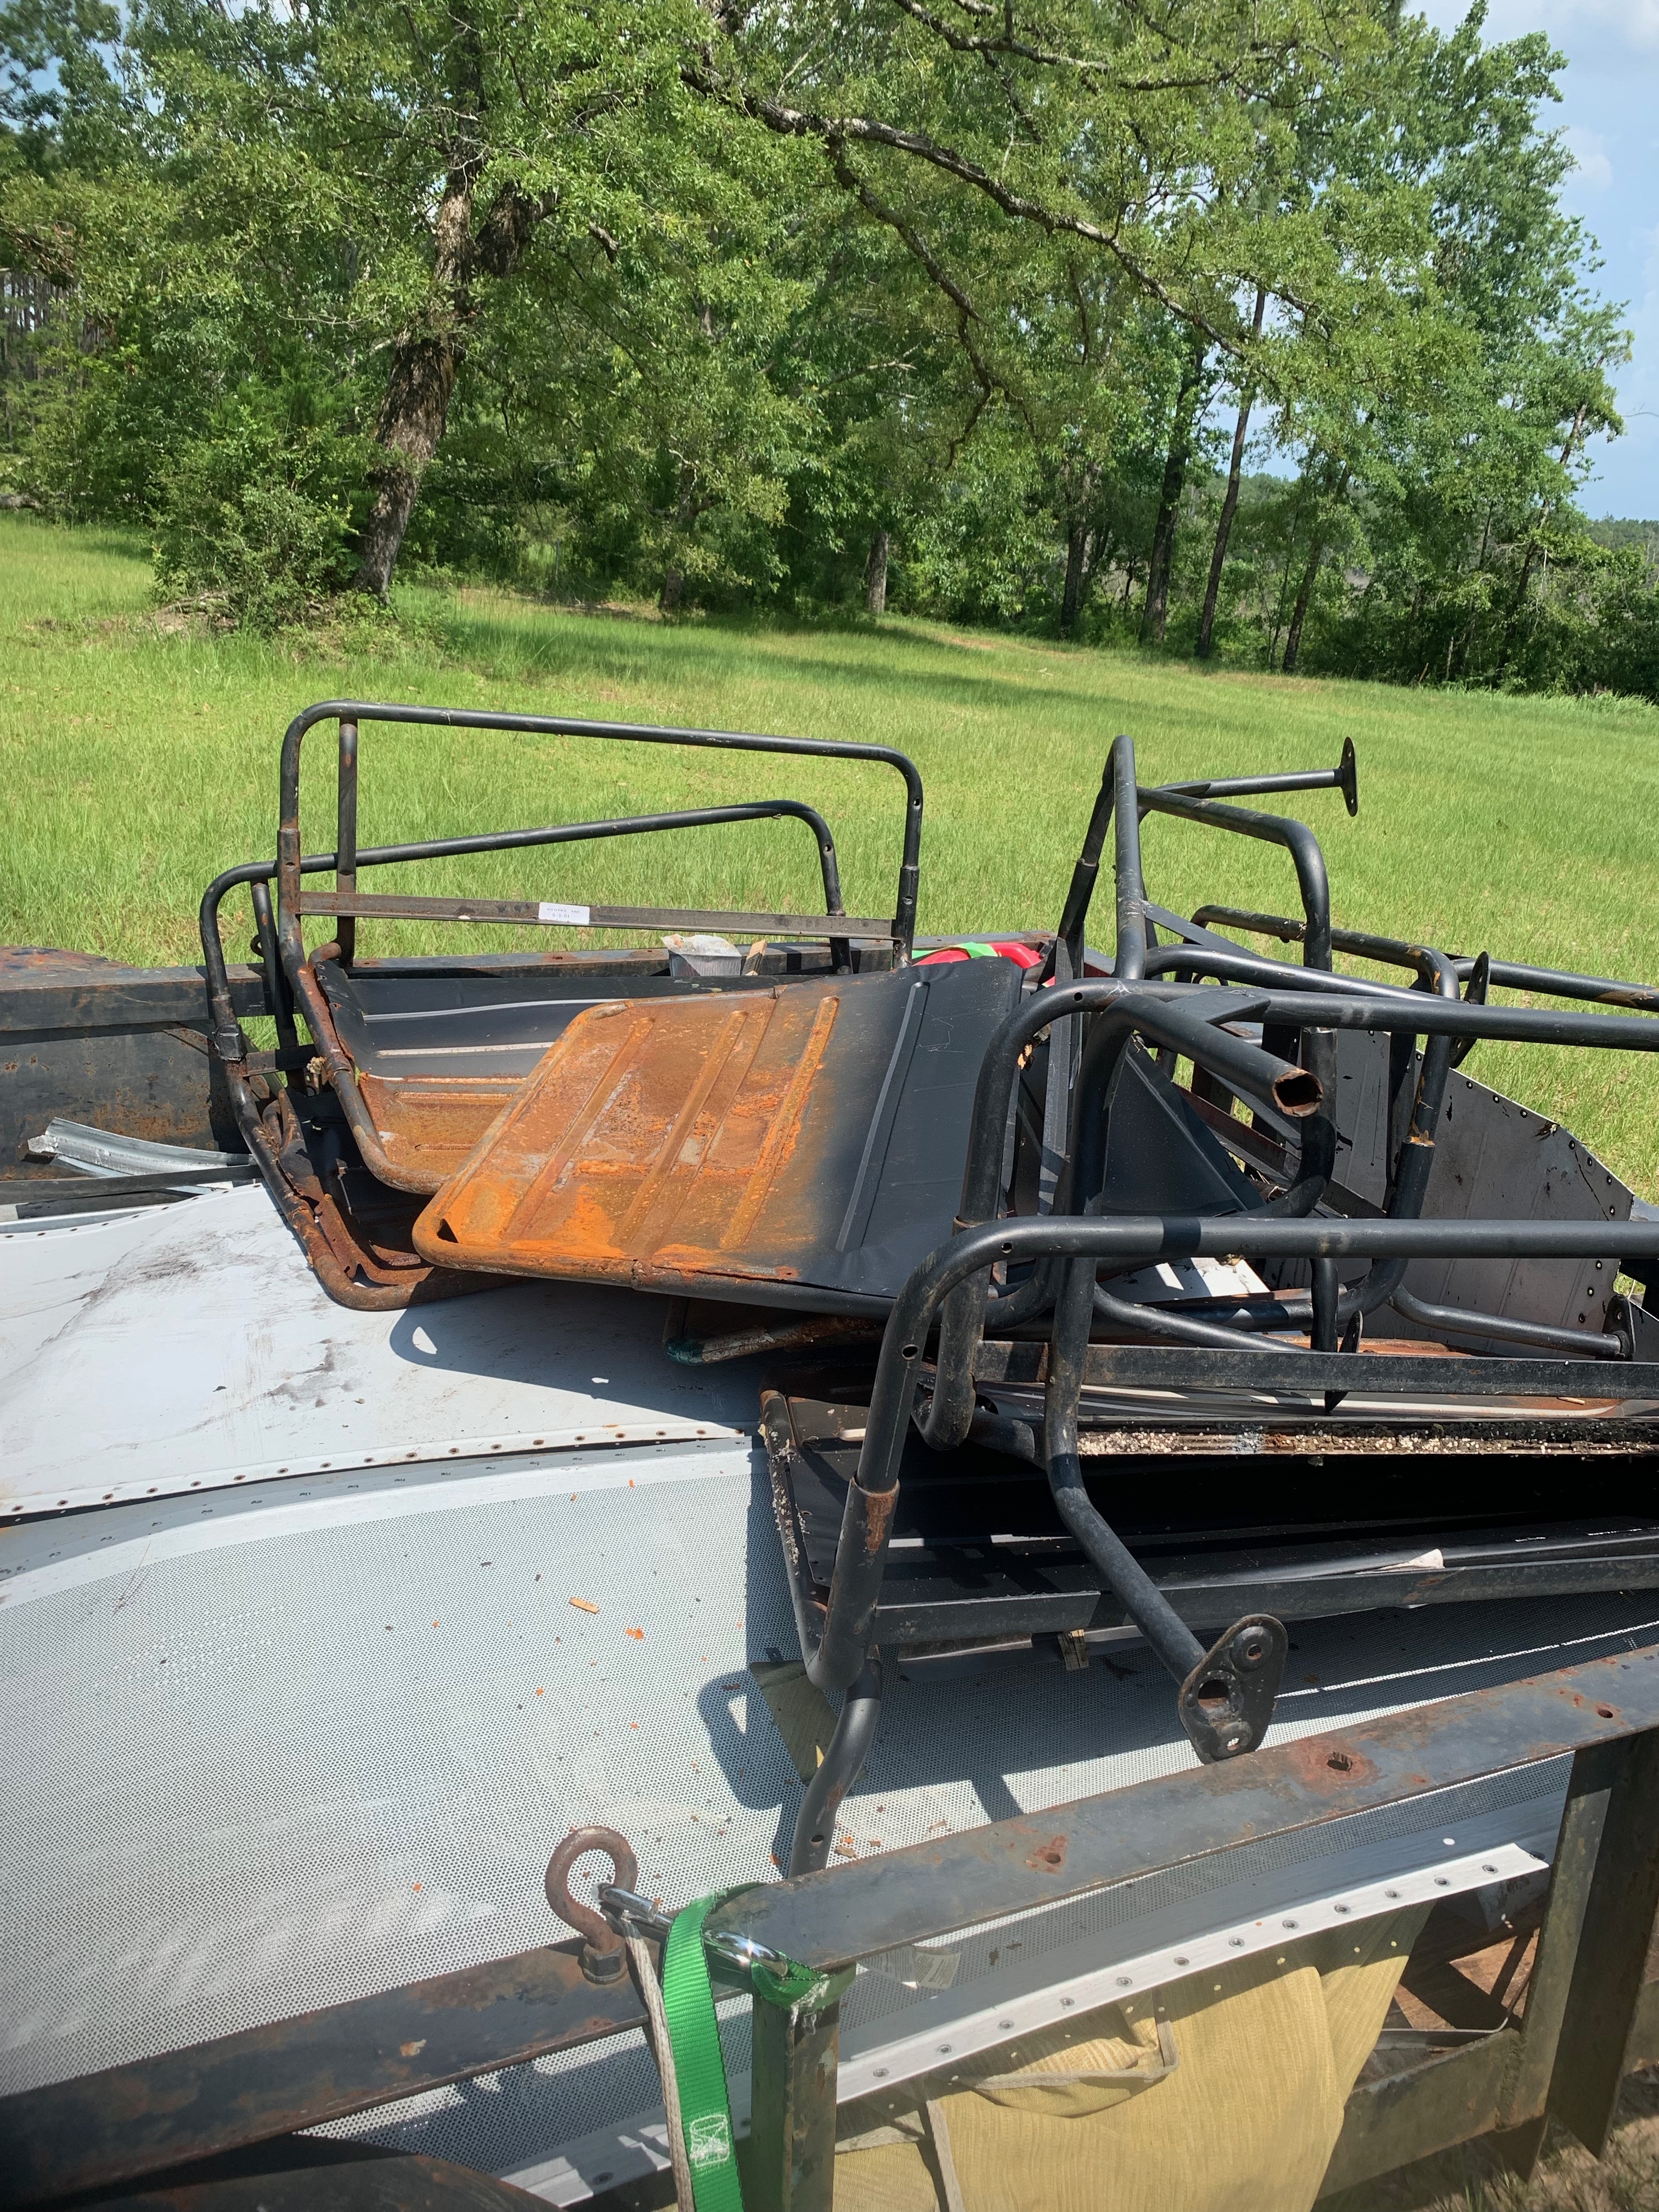
Since our seats sat on the chair rail, they only had legs on one side. Therefore, there were not a lot of options for repurposing them. If you have legs on both sides, some people have used them as dinette benches in their skoolie. Others have used them in their cabins, workshops, etc.
Our bus seats were pretty gross, so I removed the covers from the frames, scrapped the metal, and took the cushions to the dump. It was about $90 worth of metal that I took to the scrapyard.
I practiced welding on a few saved pieces. If you buy a small welding machine, I recommend testing your welds on some of the scrap metal.

Questions About Removing Your Bus Seats?
If you have any questions about removing your bus seats, comment below or email us via our contact page.